SAT 8:00AM to 12:00PM Credit ApplicationKeep in Touch


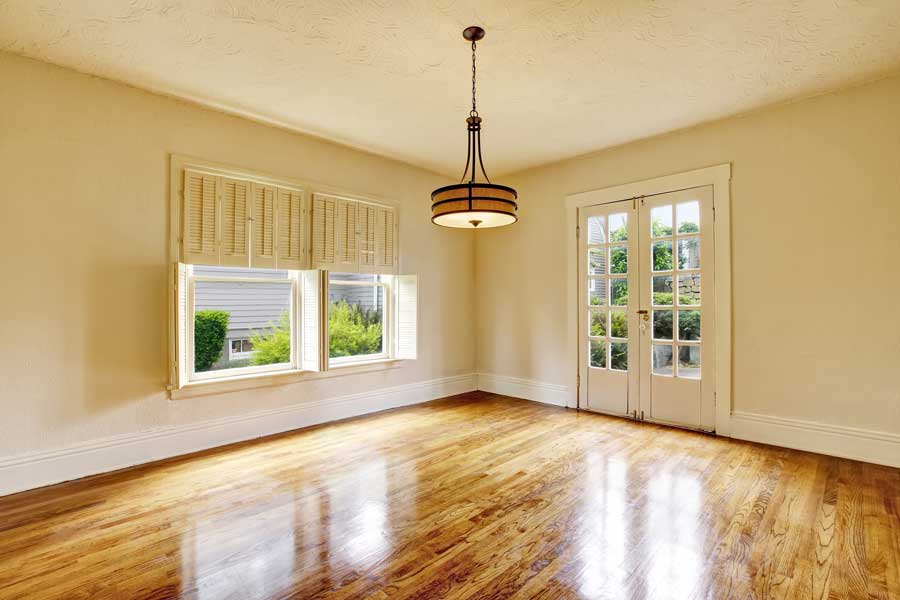
Does your hardwood flooring need some TLC before the colder months roll in? Of course, you can always hire a professional for the job but if you are an avid DIYer it is also something that you can tackle with the right tools and a bit of know-how. Here’s everything you need to know about refinishing your hardwood floors.
First of all, let’s go over the tools you will need for the job. And keep in mind that any tools you do not already have Pro Star Rental most likely have available, especially floor sanders.
-Drum sander and edge sander
-Sandpaper (various grits)
-Vacuum cleaner
-Wood filler
-Putty knife
-Hammer and nail set
-Stain (optional)
-Polyurethane finish
-Paint roller and brushes
-Floor buffer or buffer pad
-Respirator mask
-Safety glasses
-Ear protection
-Dust mask
Once you have all of your tools and supplies, begin by preparing the room where you will be working. Remove all furniture, rugs, and obstacles from the room. Ensure the room is well-ventilated by opening windows and doors.
Start by sanding the floor using a drum sander. Begin with a coarse-grit sandpaper (around 36-60 grit) to remove the existing finish and any deep scratches. Sand in the direction of the wood grain, keeping the sander moving steadily.
After using the coarse grit, switch to finer sandpaper (80-100 grit) to smooth out the surface. Repeat the process with even finer grits (120-150) for a smooth finish.
Use an edge sander or hand sander for areas that the drum sander cannot reach, such as corners and edges.
Vacuum the entire room and floor thoroughly to remove all dust and debris. Ensure the floor is clean before proceeding.
Examine the floor for any gaps, cracks, or holes. Use wood filler and a putty knife to fill these imperfections. Allow the filler to dry completely, and then sand it smooth.
If you want to change the color of your hardwood floor, now is the time to apply a wood stain. Follow the manufacturer's instructions for staining and drying times.
Apply a polyurethane finish using a paint roller and brushes. Start in one corner of the room and work your way toward the exit to avoid walking on the fresh finish.
Apply multiple thin coats, allowing each coat to dry completely before adding the next. Sand lightly between coats with a fine-grit sandpaper (220 grit) to smooth out any imperfections.
After the final coat of finish has dried, use a floor buffer with a buffer pad to buff the floor. This step helps to create a smooth, glossy surface.
Allow the finish to cure and dry completely. This can take several days to a couple of weeks, depending on the product used and environmental conditions.
And there you have it! Hopefully this guide will be helpful if you decide to tackle this project on your own. And if you do, do not hesitate to call one of our Pro Star Rental locations to check on our tool availability.
By Pro Star Rental 10-16-2023
Recent:
Categories
Archive
Jun 2025
May 2025
Apr 2025
Jan 2025
Dec 2024
Nov 2024
Oct 2024
Sep 2024
Aug 2024
Jul 2024
Jun 2024
May 2024
Apr 2024
Mar 2024
Feb 2024
Jan 2024
Dec 2023
Nov 2023
Oct 2023
Sep 2023
Aug 2023
Jul 2023
Jun 2023
Mar 2023
Feb 2023
Jan 2023
Dec 2022
Nov 2022
Oct 2022
Sep 2022
Jul 2022
Jun 2022
Apr 2022
Mar 2022
Feb 2022
Jan 2022
Dec 2021
Oct 2021
Sep 2021
Aug 2021
Jul 2021
Jun 2021
May 2021
Apr 2021
Mar 2021
Feb 2021
Jan 2021
Dec 2020
Nov 2020
Oct 2020
Sep 2020
Aug 2020
Jul 2020
Jun 2020
May 2020
Apr 2020
Mar 2020
Feb 2020
Jan 2020
Dec 2019
Oct 2019
Aug 2019
Jun 2019
Apr 2019
Mar 2019
Feb 2019
Dec 2018
Apr 2018
Nov 2017
May 2016

Enter your information below to begin receiving emails from Pro Star Rental